![CreateAppointment_1](http://apps.mobilebizco.com/doctoratwork/wp-content/uploads/2014/10/CreateAppointment_1-168x300.jpg)
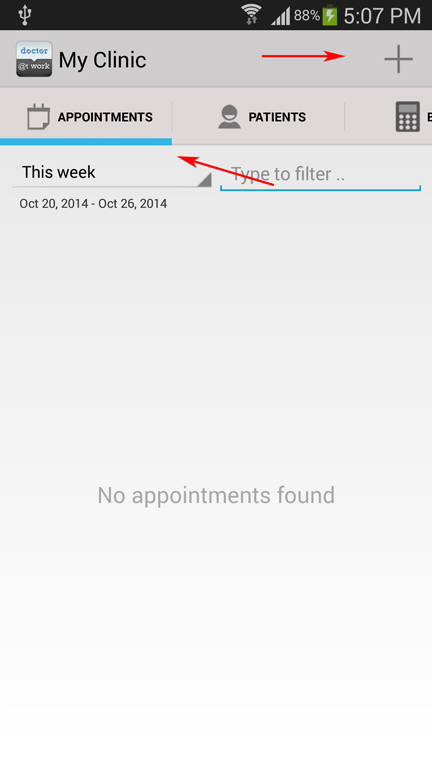
(1) Click on the APPOINTMENTS tab > Then click on the + sign
![CreateAppointment_2](http://apps.mobilebizco.com/doctoratwork/wp-content/uploads/2014/10/CreateAppointment_2-168x300.jpg)
(2) Click on the Visit Date to change the schedule of the appointment.
(3) Then click on the Patient section
![CreateAppointment_3](http://apps.mobilebizco.com/doctoratwork/wp-content/uploads/2014/10/CreateAppointment_3-168x300.jpg)
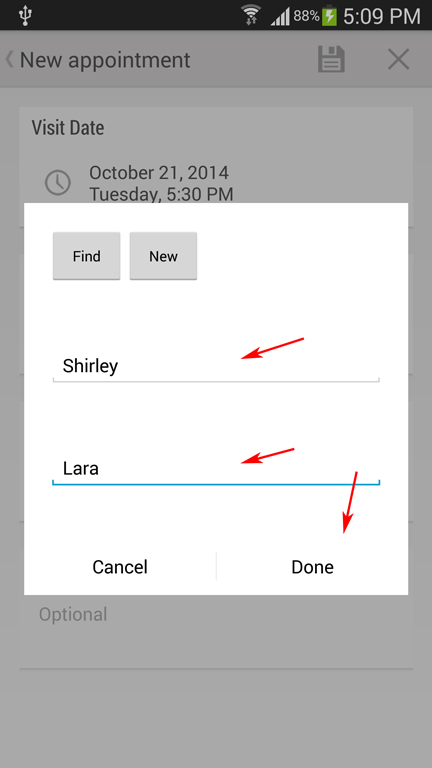
(4) Then enter the First and Last name of the patient. > Then click on Done.
![CreateAppointment_4](http://apps.mobilebizco.com/doctoratwork/wp-content/uploads/2014/10/CreateAppointment_4-168x300.jpg)
(5) Then click on the Purpose section to enter detail of the appointment.
(6) Then click on the Save icon.
![CreateAppointment_5](http://apps.mobilebizco.com/doctoratwork/wp-content/uploads/2014/10/CreateAppointment_5-168x300.jpg)
(7) Click on the Notes, Address and Others section to add more details about the patient.
![CreateAppointment_9](http://apps.mobilebizco.com/doctoratwork/wp-content/uploads/2014/10/CreateAppointment_9-168x300.jpg)
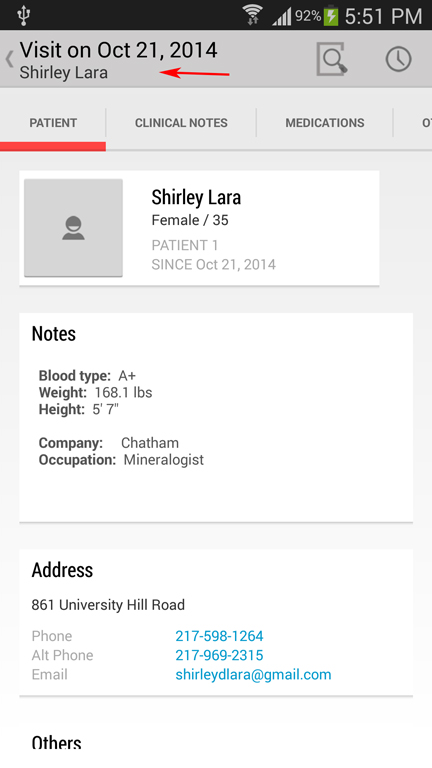
(8) Then click on the Back arrow to go back to the Home page.
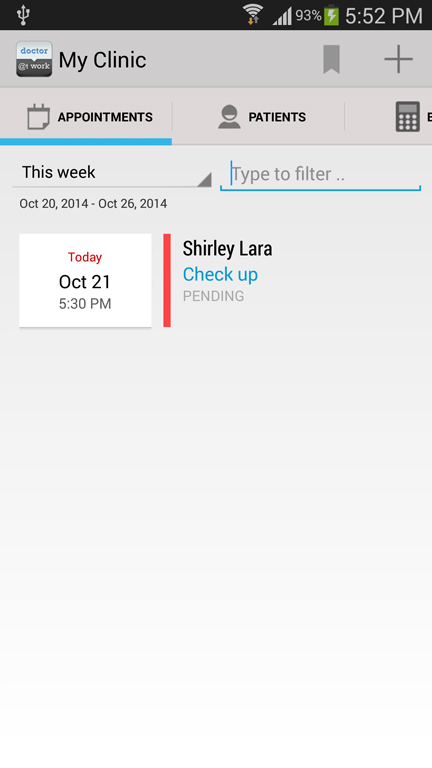