
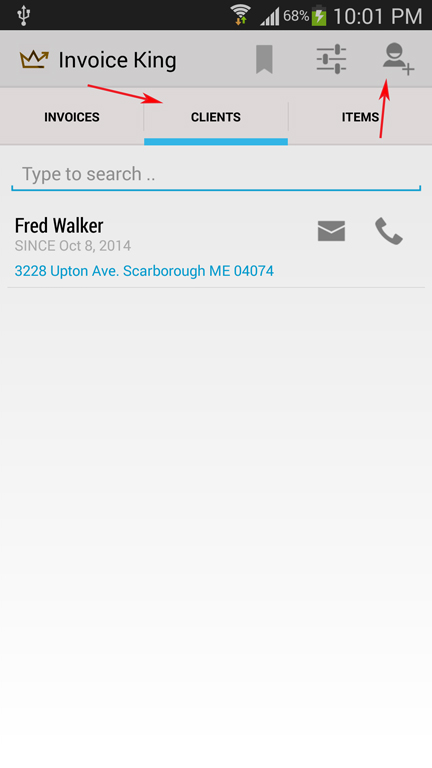
(1) Click on the CLIENTS tab > then click on the + icon on the top menu.

(2) Then enter the First Name and the Last name of the customer. > then click on the Done button
– This will create the customer record to the app.

(3) You can then update the customer’s details by click on the Address section.

(4) Then enter the customer’s address, email, phone and define the terms provided to that customers. > Then click on the SAVE button.
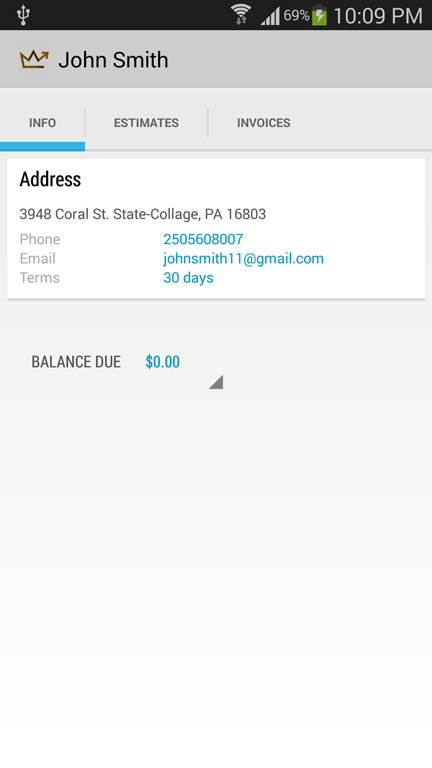
(5) The customer’s information will then be updated.
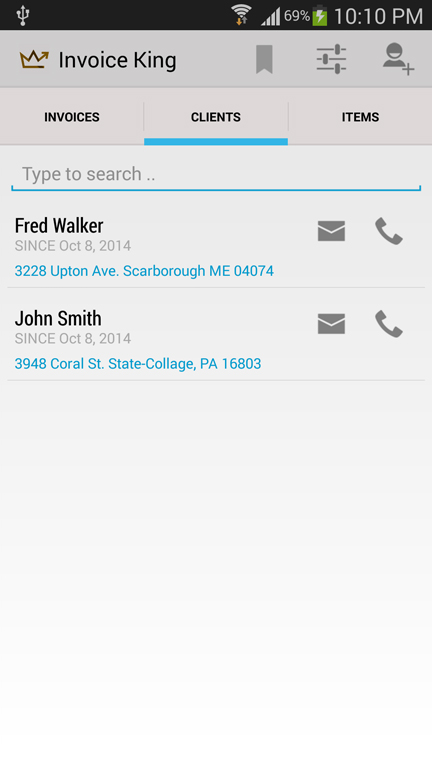
(6) Then when you go back to the client’s tab, the new customer will be included in the list.