
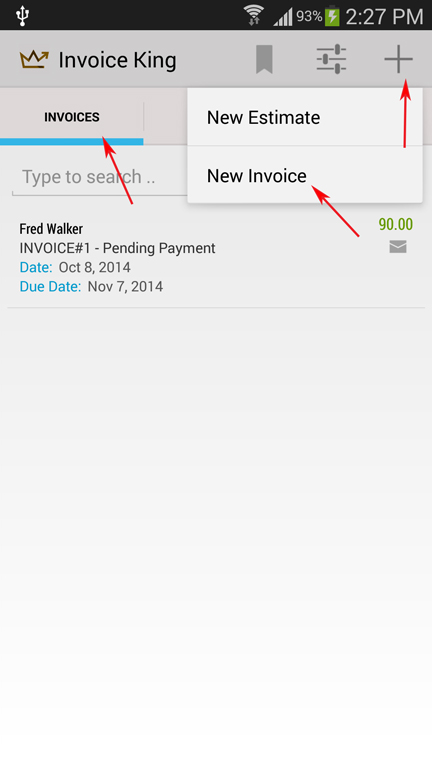
(1) Go to the Invoice Tab > Click on the + icon > then choose New Invoice.
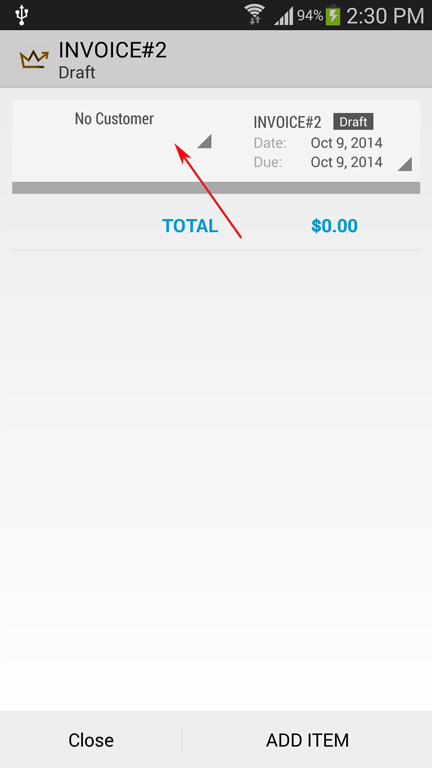
(2) Then click on the Customer section.
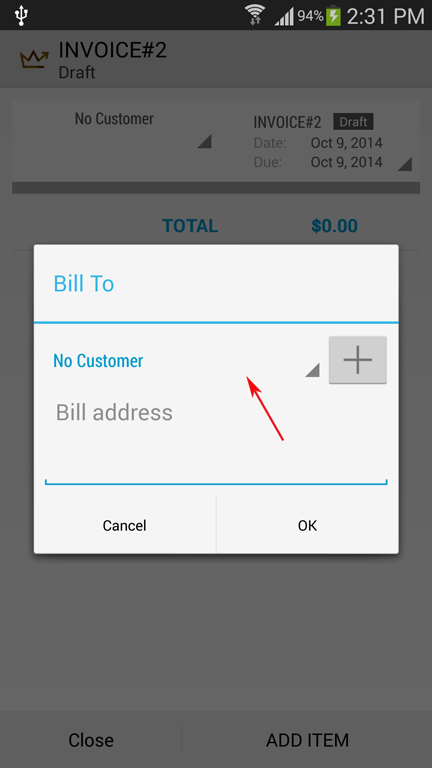
(3) Click on the Customer List section to select existing customer.
(4) Or click on the + button to add a new customer.
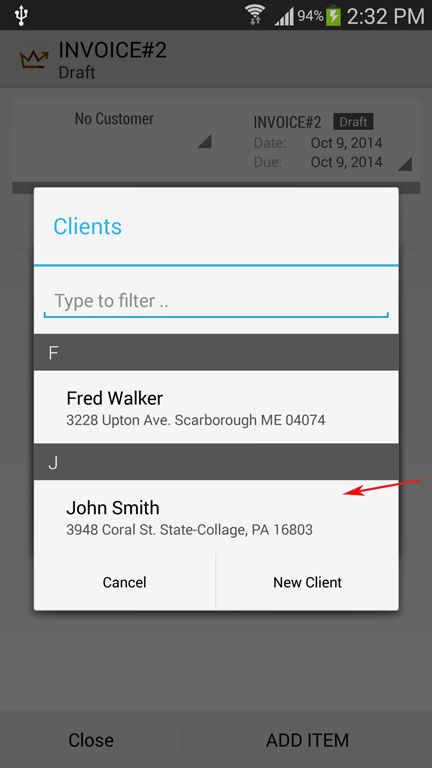
(5) Select a customer from the list.
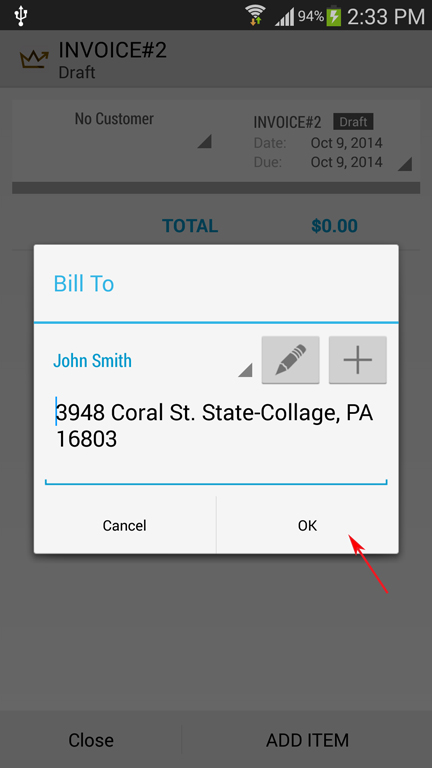
(6) This will populate the customer’s address. You can modify this if needed
(7) Click on the OK button to continue.

(8) Then click on the Add Item button to add a line item to your invoice.
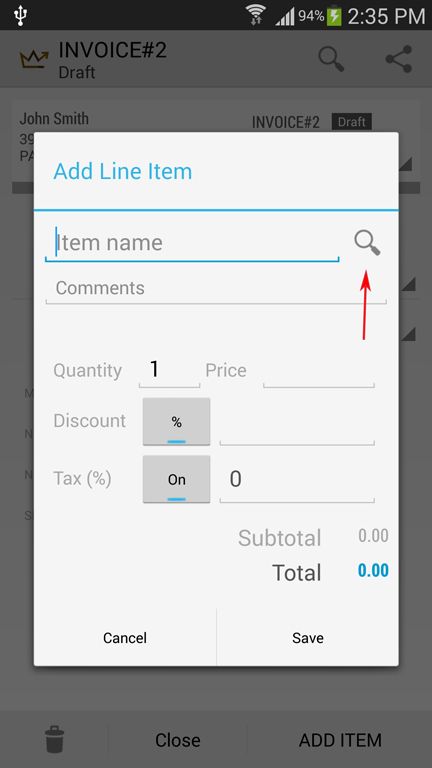
(9) You can manually enter the Item name or click on the magnifying glass icon to select an item from the item list.
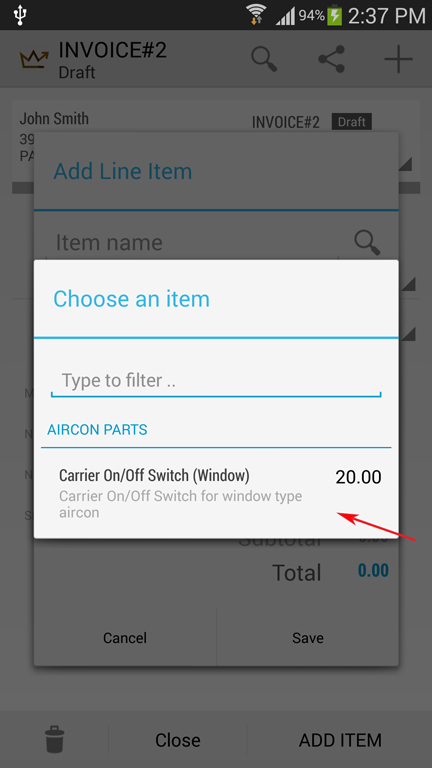
(10) Then select an item from the list to add line item to your invoice.
(11) This will populate the item name, description and the price to the Line Item
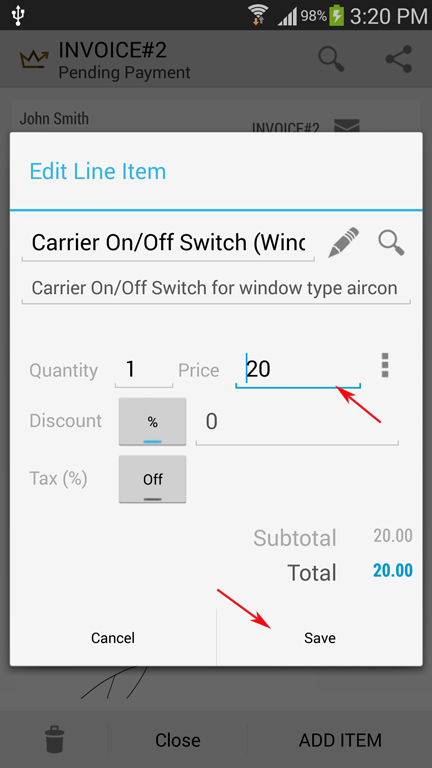
(12) Update the price if needed.
(13) Then click on the Save button to complete the line item.
(14) Repeat Step 7 if you want to add more items.
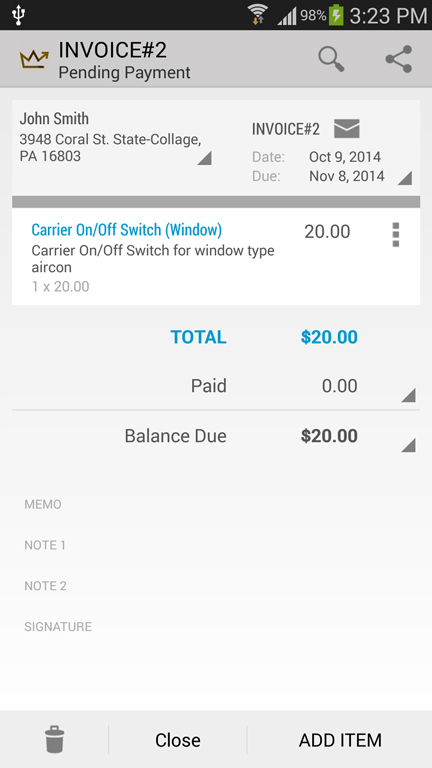
(15) After completing the invoice, you will need to send it to a customer in order to change the draft status to Sent. Please refer to “Sending an invoice to a customer” for the guide on how to send it.
(16) Click on the close button to return to the Home screen.
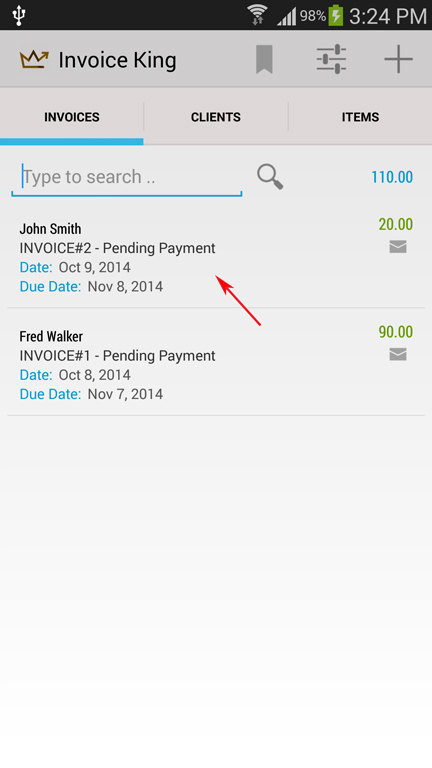
(17) The newly created invoice will now be displayed on the transaction list.